Volume Visualization, LU
Visualisierung WS 2006
Martin Knecht, 0326294, martin.knecht#aon.at
Michael Schwärzler, 0325222, michael#schwaerzler.com |
Download
VolVisualization06.zip (1,21 MB)
|
Volume Visualization 2006

"Volume Visualization 2006" was developed in the winter
semester 2006 for the LU "Visualisierung" at the Technical University of
Vienna. It is a software designed to visualize volumetric data, which is for
example produced by CT scanners in medical environments.
The whole Raycasting algorithm was implemented using shader model 3.0, which
makes it very fast, as nearly all computations are done on the GPU!
Unfortunately, you need a Shader Model 3.0 compliant graphic card in order to
be able to run "Volume Visualization 2006"!
Technical details: The software was developed in C++/DirectX9. The program is
able to display the data in two different ways: Slicing and Raycasting.
Slicing:
-
along the three main axis
-
"free mode": slides raycasted (!) objects using a cliiping
plane in an arbitrary viewing angle
-
transfer function can be used to compose colored images
-
trilinear/nearest neighbour filtering
Raycasting:
-
Levoy Mode: Ray casting based on the techniques described by
Marc Levoy, 1987
-
First Hit Mode: Raycasting stops at first Voxel which is
higher than a previously set threshold.
-
Average Mode
-
Maximum Intensity Mode
-
transfer function can be used to compose colored images
-
trilinear/nearest neighbour filtering
-
adjustable step size
-
perspective/parallel projection
- Phong Shading model based on gradient computation
Using the program
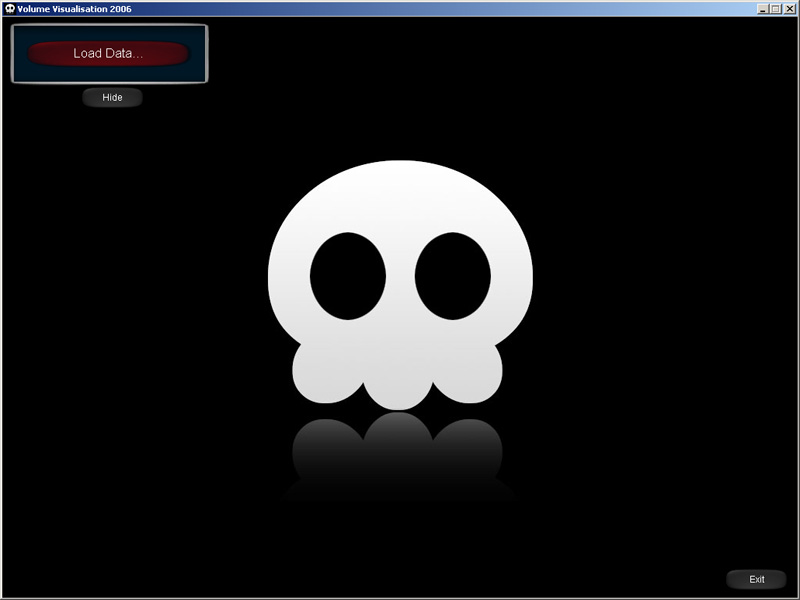
Once the program starts, you will see this screen:

Click the "Load Data" button to load a new data set.
NOTE: You can exit the program anytime by clicking the "Exit" button on the
lower right.
NOTE: All windows on the screen can be hidden, so that the rendered results can
be watched without any disturbing GUI control. Just click the "Hide" buttons to
make them disappear. In order to make them visible again, click the
corresponding "Show" buttons.
Slicing:
Once you have loaded a new data set, the program will automatically switch into
slicing mode:

-
Render Settings: Opens the render settings. Will be explained
later in this document.
-
Mode Selection: Choose between Slicing and Raycasting mode.
-
Use Transfer Function: If this checkbox is checked, the
transfer function (see later in this document) will be used to compose the
image. Otherwise, the given intensity values are used.
-
The slider is used to choose the current slice
-
The radio buttons are used to set the current slicing plane
(XY, XZ, YZ, free). In free mode, click and hold the left mouse button while
moving the mouse in order to rotate the object!
NOTE: The free mode is not just a simple arbitrary slicer - it slices the
raycasted object using a clipping plane! To choose the raycasting mode, switch
to raycasting mode first, select the desired mode there and return to free
slicing mode again.
-
Zoom to the displayed object by clicking and holding the right
mouse button while moving the mouse!
Raycasting:
If you choose Raycasting in the mode selection combo box, the interface will
change:

-
Render Settings: Opens the render settings. Will be explained
later in this document.
-
Mode Selection: Choose between Slicing and Raycasting mode.
-
Use Transfer Function: If this checkbox is checked, the
transfer function (see later in this document) will be used to compose the
image. Otherwise, the given intensity values are used.
-
First Hit & Threshold Slider: The raycasting algorithm
stops at the first voxel with a value higher than the previously set threshold.
-
Average Projection: Computes an average of all voxel values
hit by a ray.
-
Maximum Intensity: Stores the highest value hit by a ray
-
Levoy: Ray casting based on the techniques described by
Marc Levoy, 1987
-
Click an hold the LEFT mouse button to ROTATE the object
-
Click an hold the RIGHT mouse button to ZOOM the object
-
Switch to Slicing and choose free mode to slice the raycasted object!
Render Settings:
Whenever you click the "Render Settings" button, this dialog will open:

-
Projection: Choose between parallel und perspective projection
-
Stepsize: Set the step size used during raycasting. A smaller
step size will improve image quality! On the other hand, computation will last
longer.
-
Filter: Choose between Trilinear (better quality) and Nearest
Neighbour Filtering (faster).
-
Back: Close render settings.
Transfer Function:
As soon as you load a data set, the transfer function window will pop up. You
can hide and show this window just as the normal GUI by clicking the Hide/Show
buttons.
Using the transfer function, the object's color and opacity can be controlled.

-
The window shows a histogram of the volume image, which makes
it easier to differ between the occurring materials and to set appropriate
color/intensity values.
-
Create control points by clicking on the histogram. Drag them
by pressing and holding the left mouse button. NOTE: The higher the control
point, the higher the voxel's intensity.
-
You can delete control points or give them another color by
right-clicking on them. A context-menu will pop up, where you can choose the
desired action.
-
If the object is rendered using the transfer function
(checkbox must be checked), the previously set color and intensity is looked up
for each of the voxels.
Just play around with the transfer function - you will see the
results immediately!

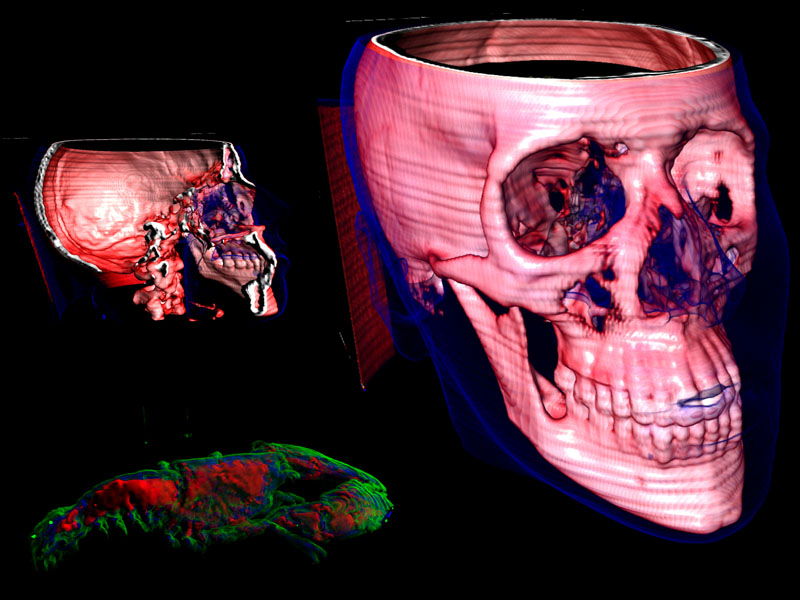
Gallery:
Some cool renderings we captured:


